Assembly
So you have organised your 3D printed scaffold and maybe added some paint and leather to it. The you built your main board and tested it, and then you built your ILI9341 Conector board and tested that. What next?
This is what I had at this point:

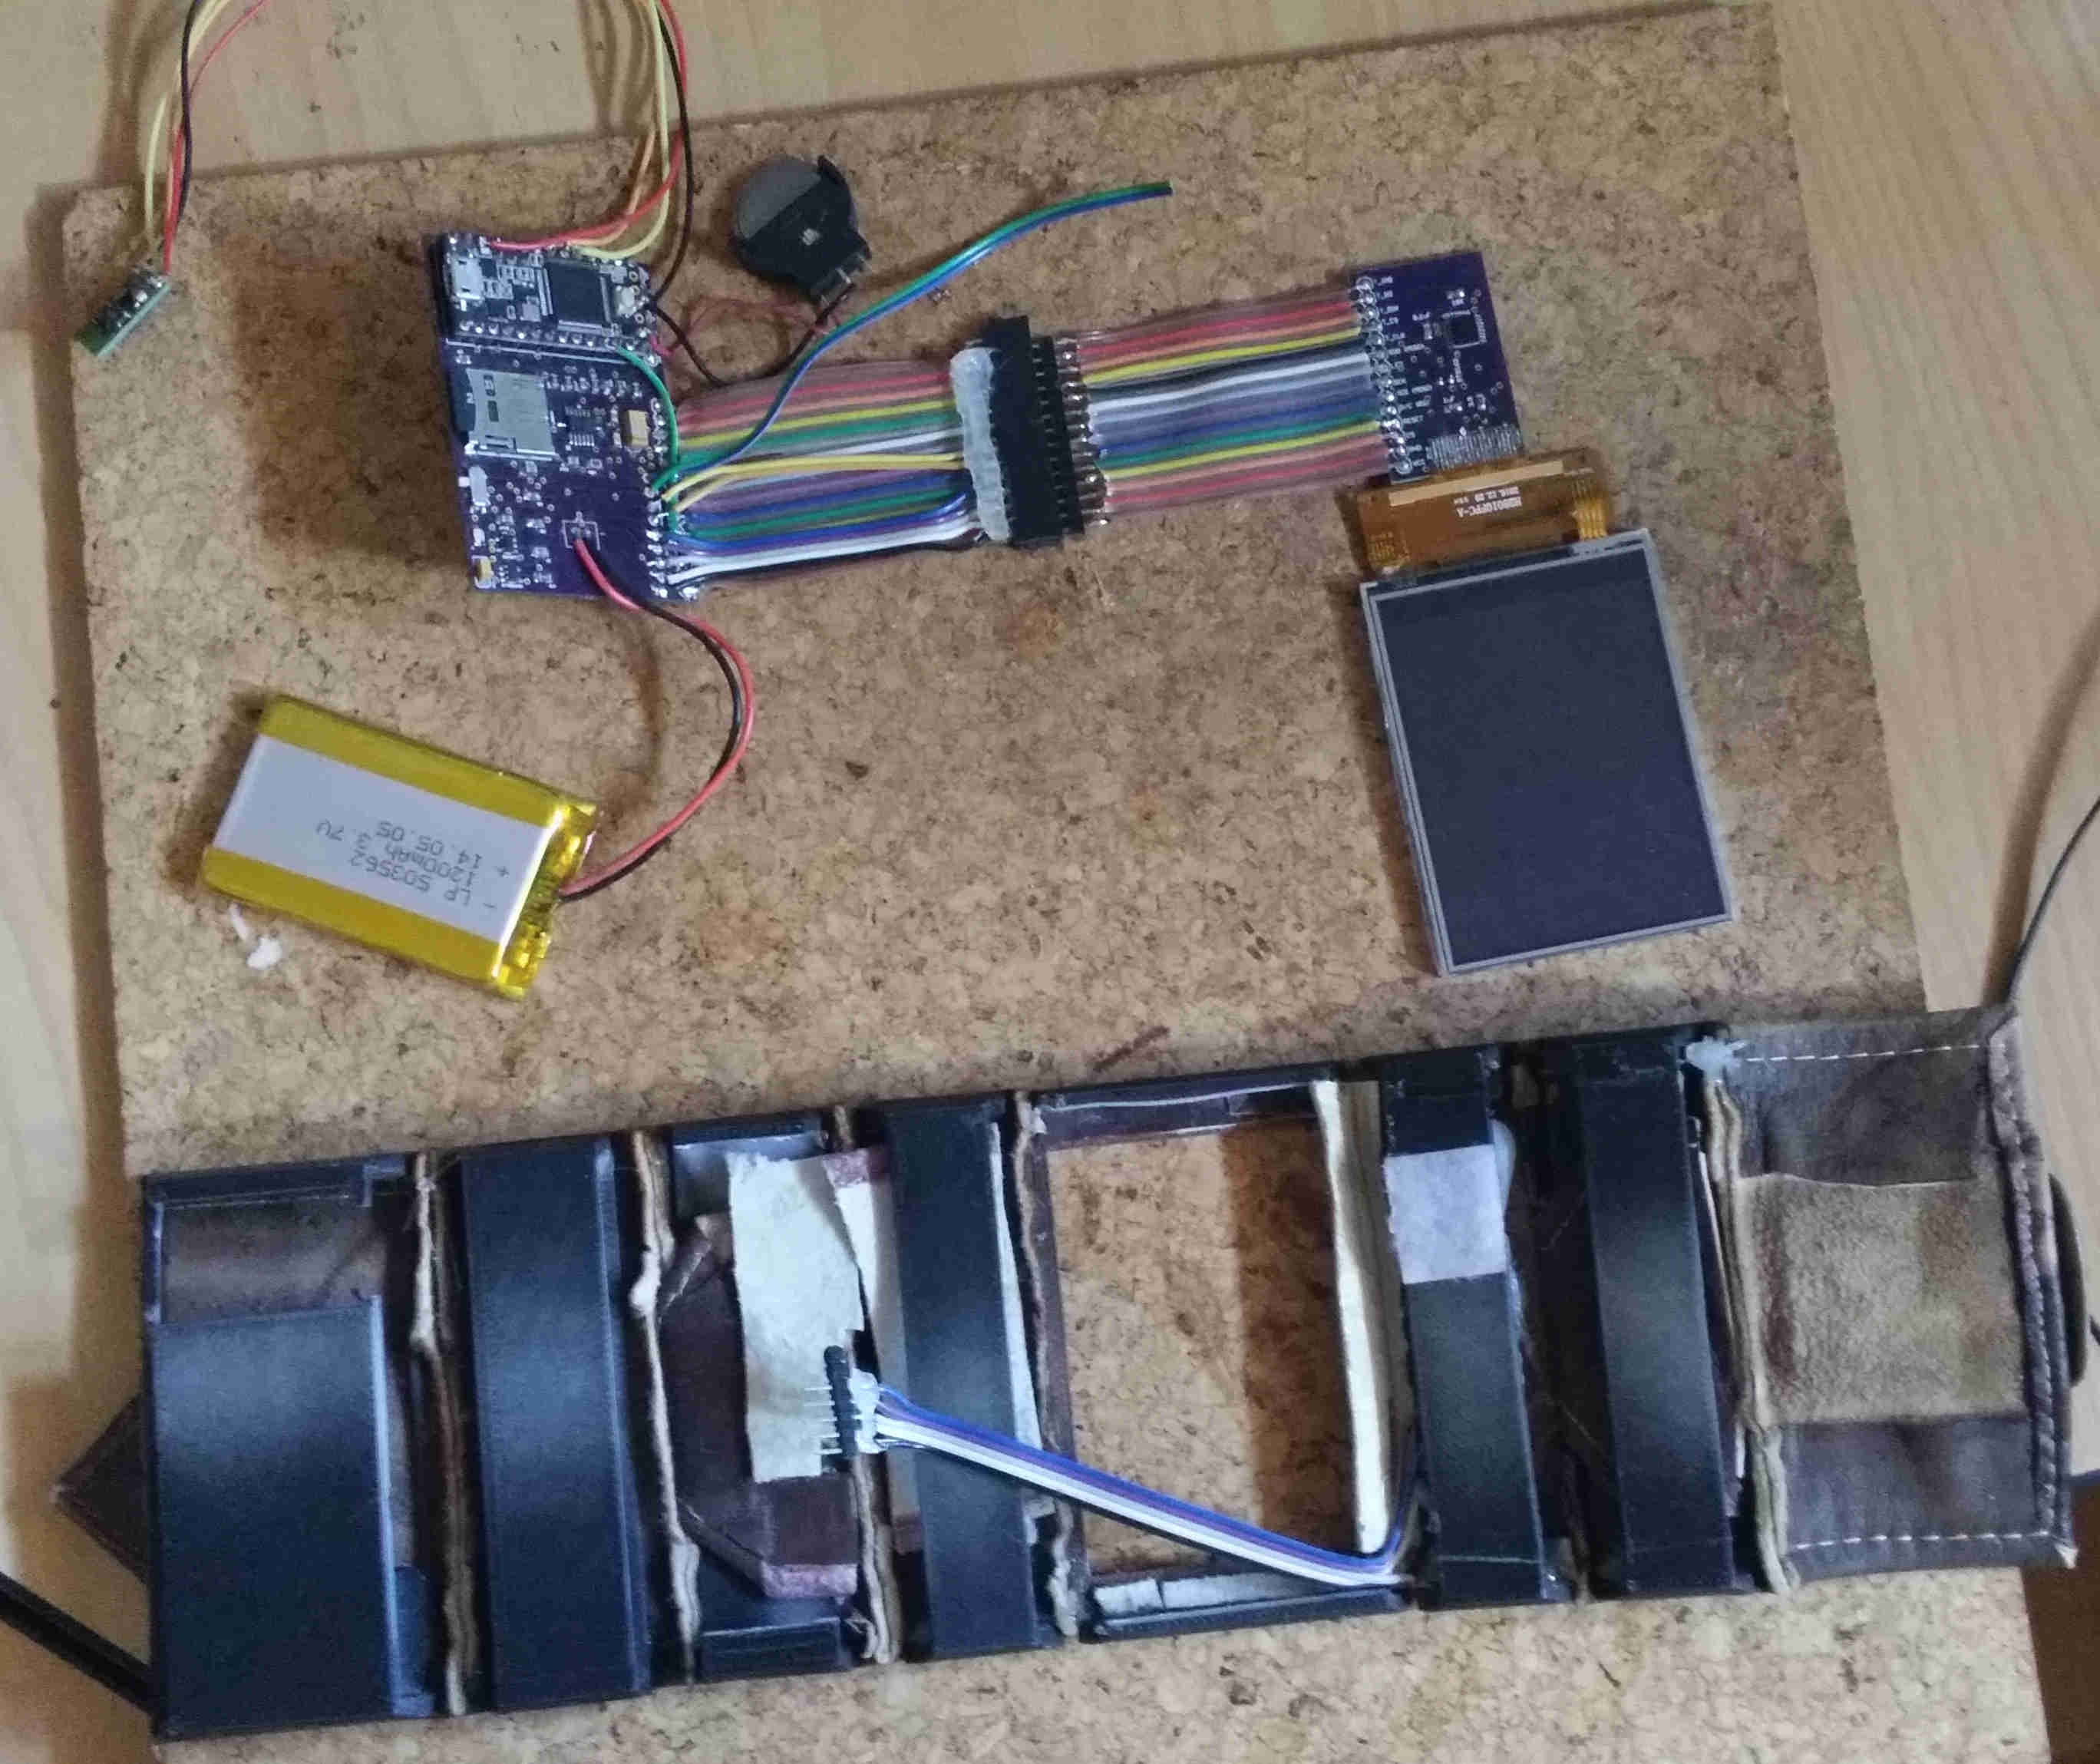
Both images show the two boards plugged together with ribbon cables and below that is the assembled strap. I have already installed the small panel just to the right of the screen. It has the speaker, two LEDs, and the wake button. There is a small ribbon cable coming from that ready to plug into the ribbon cable from the main board.
To be clear, there is one main ribbon cable from the main board that handles all the screen functions. It is soldered to the outer row of connectors on the main board. 18 connections. Then there is a second section of ribbon cable soldered to the main board connectors just to the left of the screen connectors. 5 connections. There are other connections that are not used yet. If you look closely at the photograph you'll see there are 7 wires on the second ribbon cable and only 5 wires coming in the other direction from the small panel. This is historical. I used to have a diffferent heart rate monitor that needed a separate connection. The current heart rate monitor is attached directoy to the Teensy pins.
Also the 3D scaffold does not match up with what you saw before. I found it easier to cut out the underside of some of the sections for assembly. They cut out easily with a sharp knife and they glue back again without hardly leaving a join.
The final assemply underside looks like this:
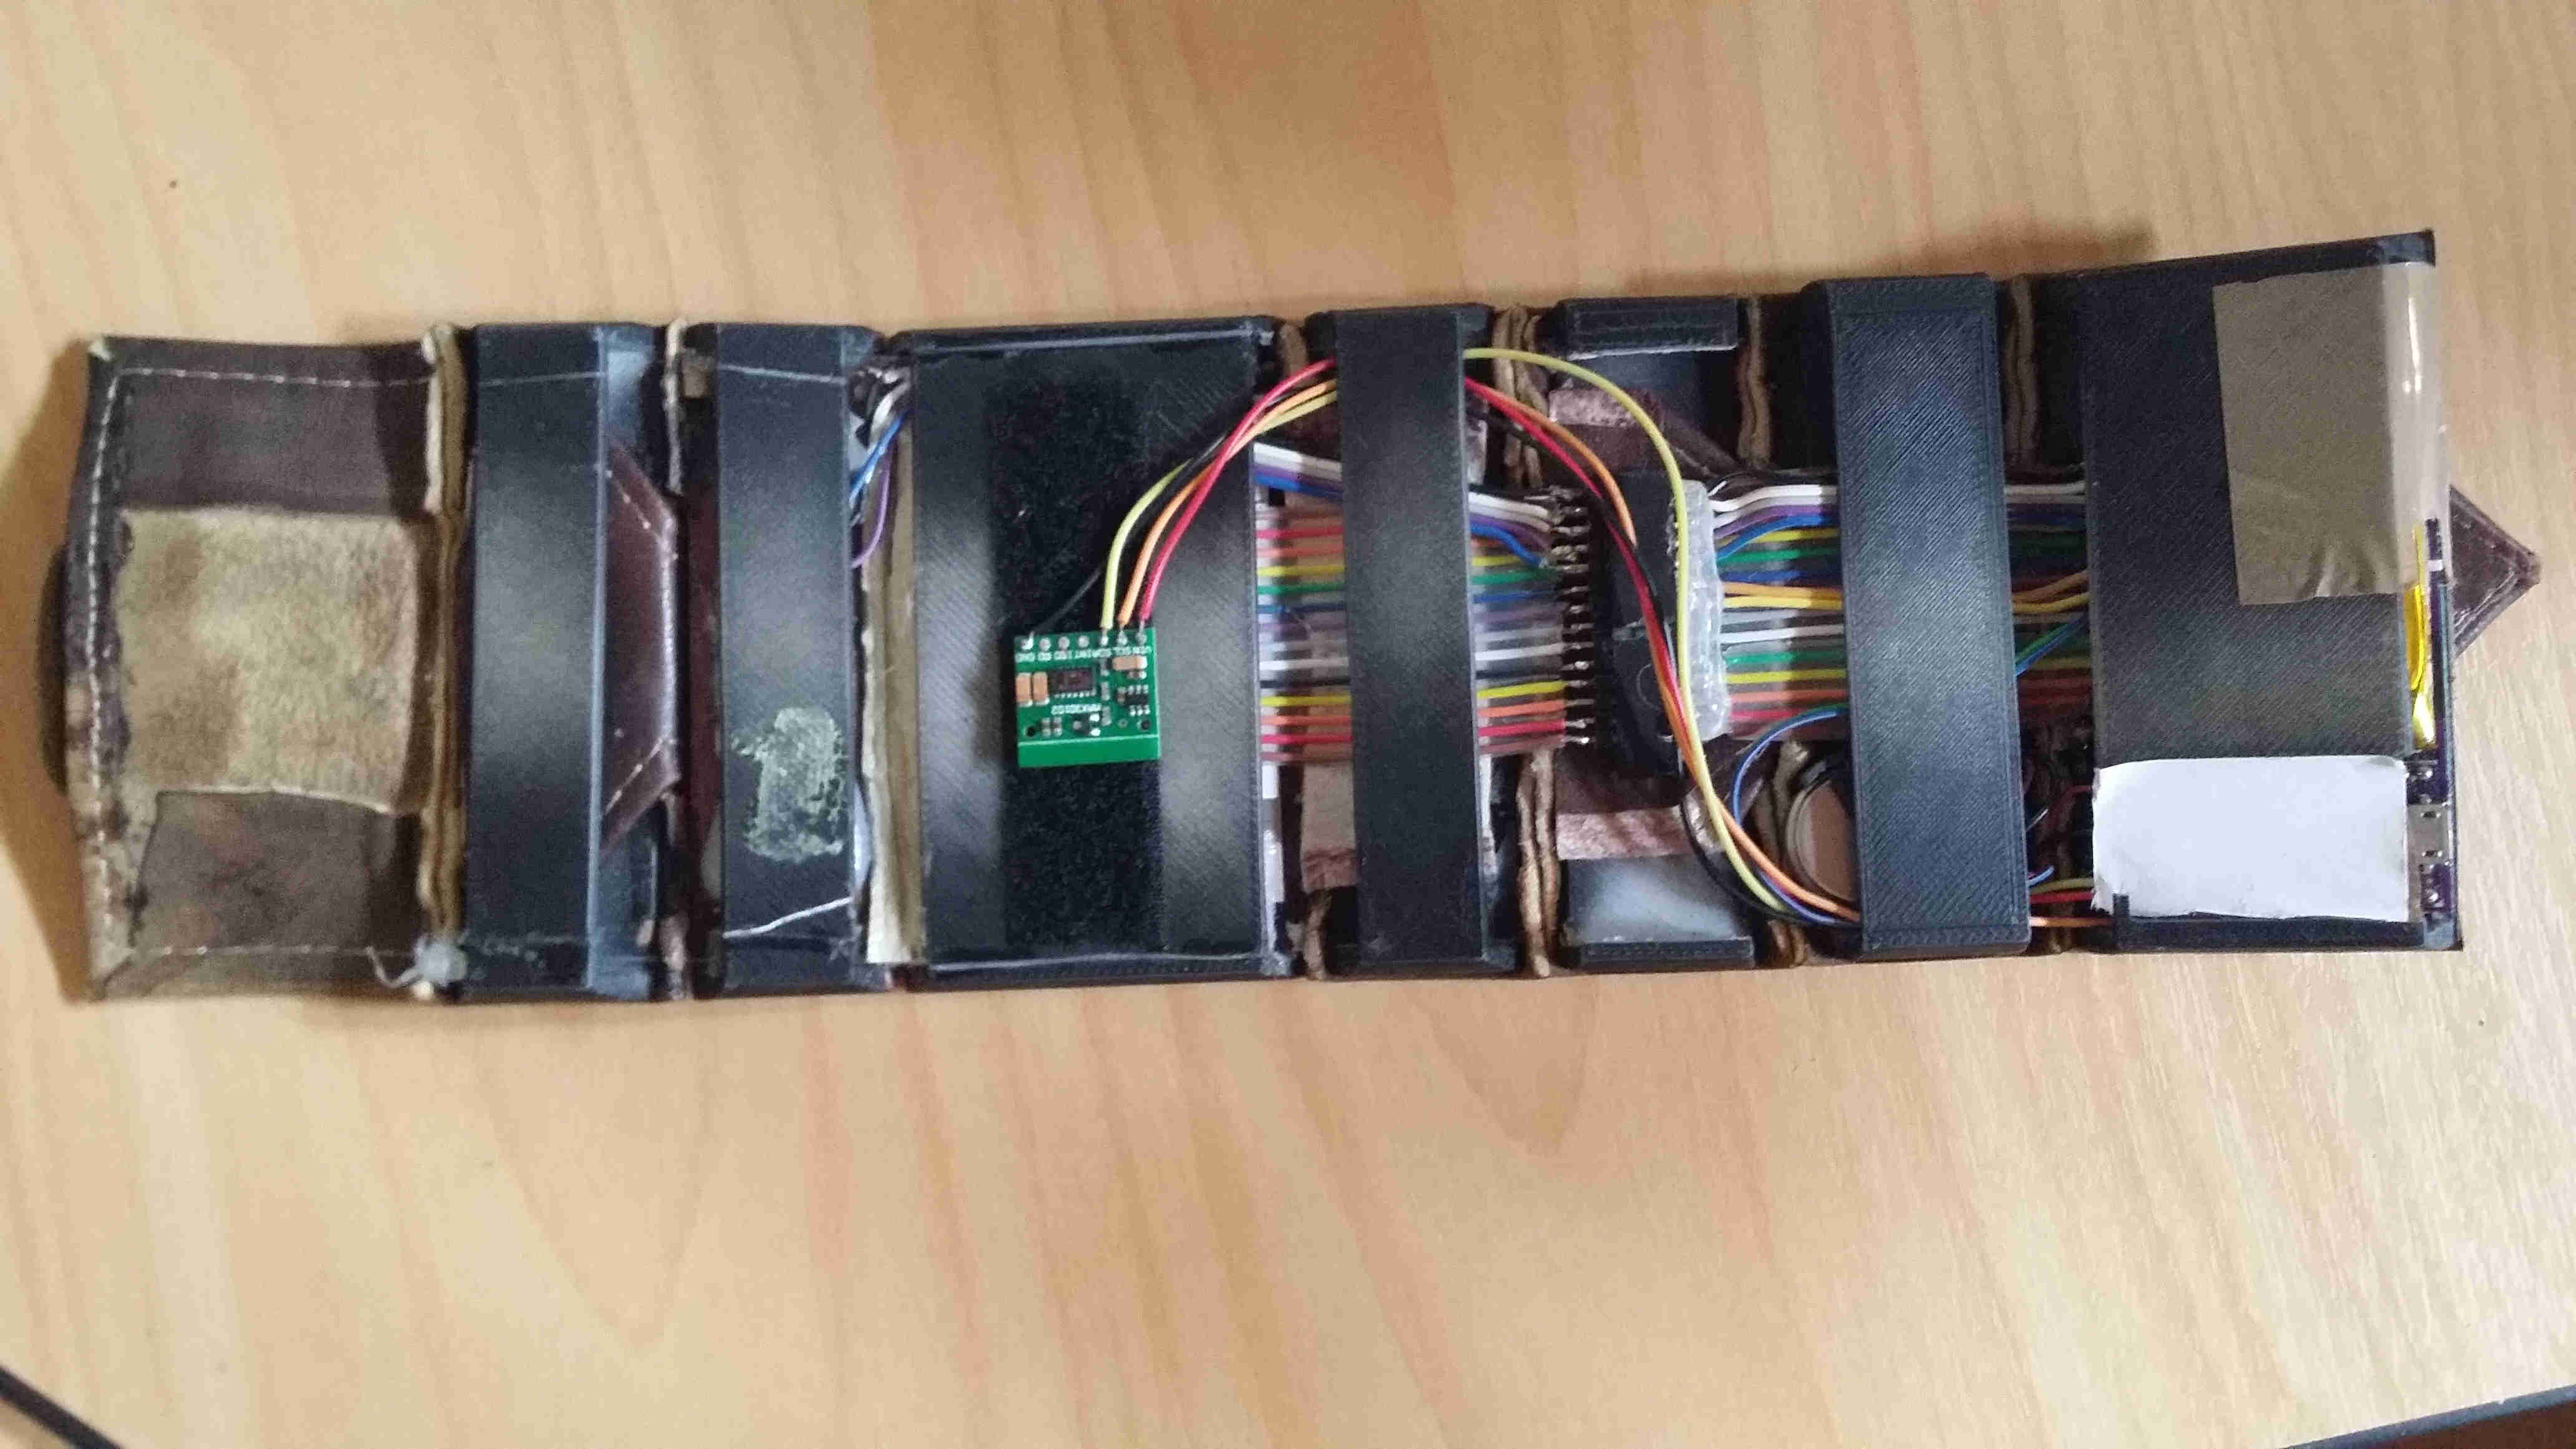
The screen is now hidden by the back panel of the section it is in and I put a strip of velcro on that section so that the MAX30105 position (the green board) could be adjusted if necessary. The main board is in place behind the back panel of its section (on the right). The battery slides in on top of the main board and fits quite snugly. I did have to use some sticky tape to hold that section together, including over the top of the Teensy. The Teensy is behind the white part of that section. I put the tape on the inside of that so the sticky side it out, and to stop it sticking to my wrist when wearing it I covered the sticky bit with white paper.
From the top it looks like this:
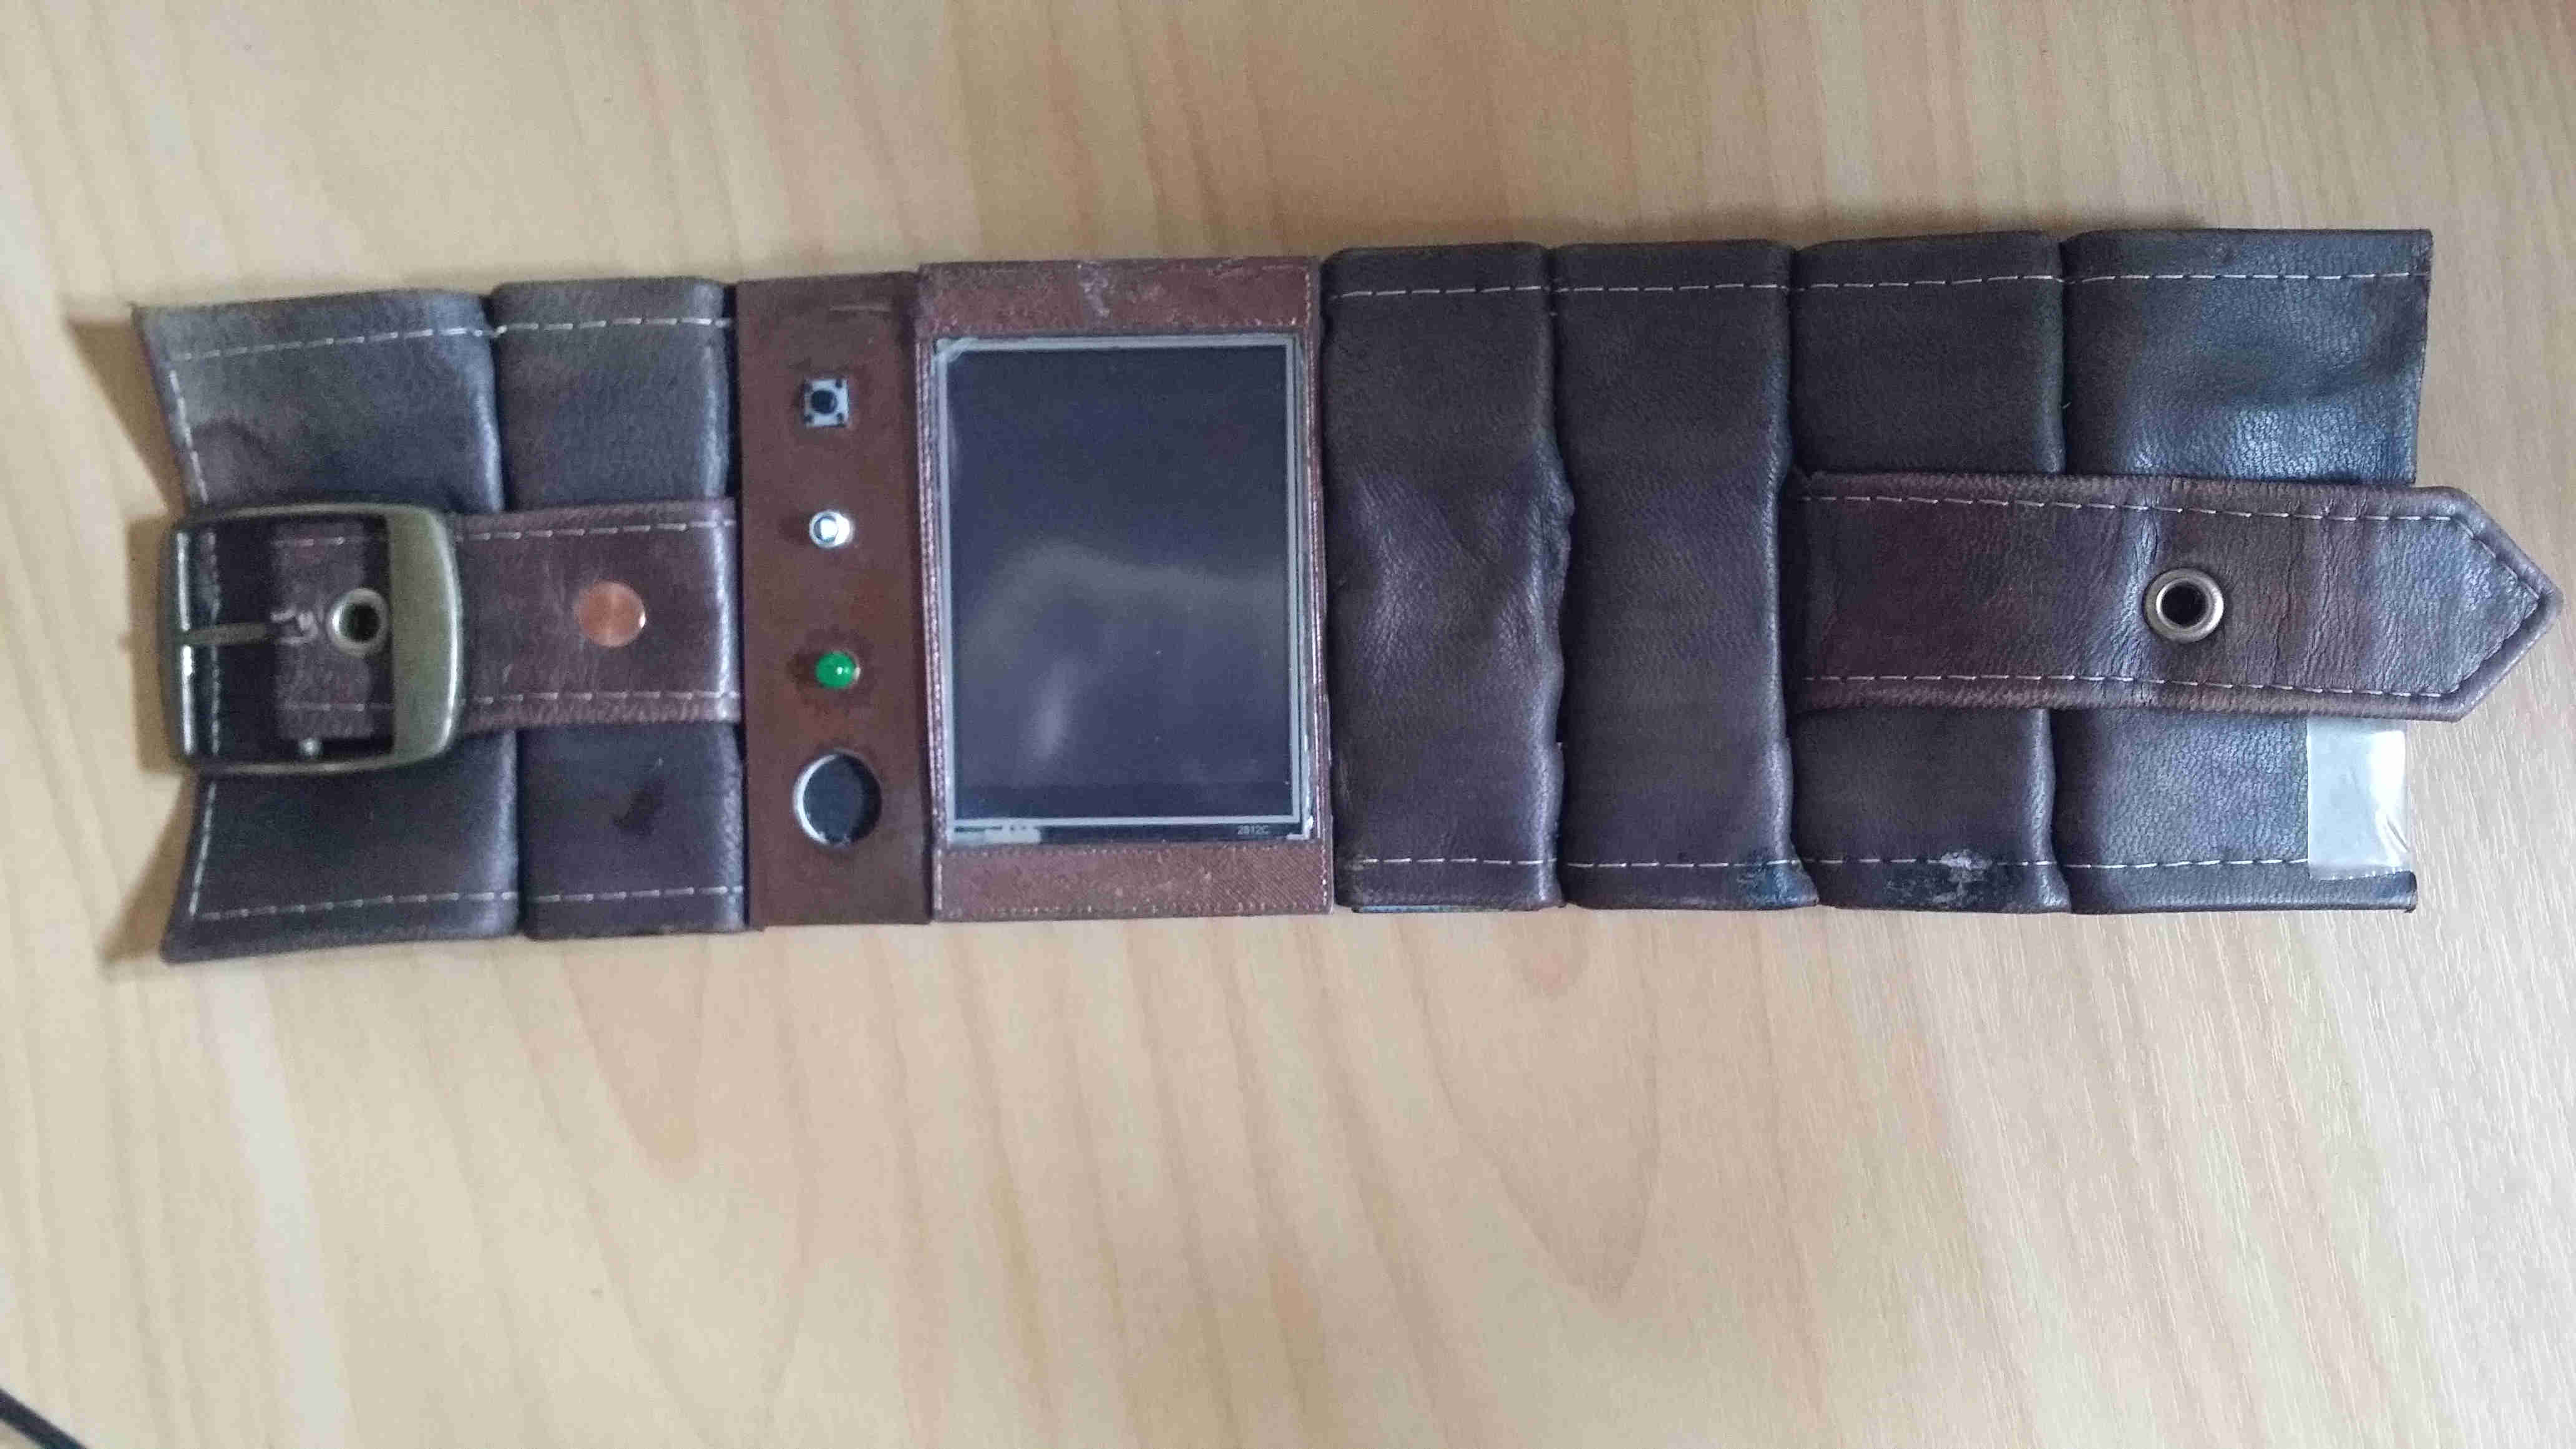
There's the screen and the control panel next to it. You can see the sticky tape on the right but that is covered by the leather flap just under the buckle (on the left) when the device is worn. I should say I have had several tries as getting this built, recycling things from the previous try, so it is all looking a little worn now. Which is okay, I like that it looks like it has been around the galaxy a few times.