Construction
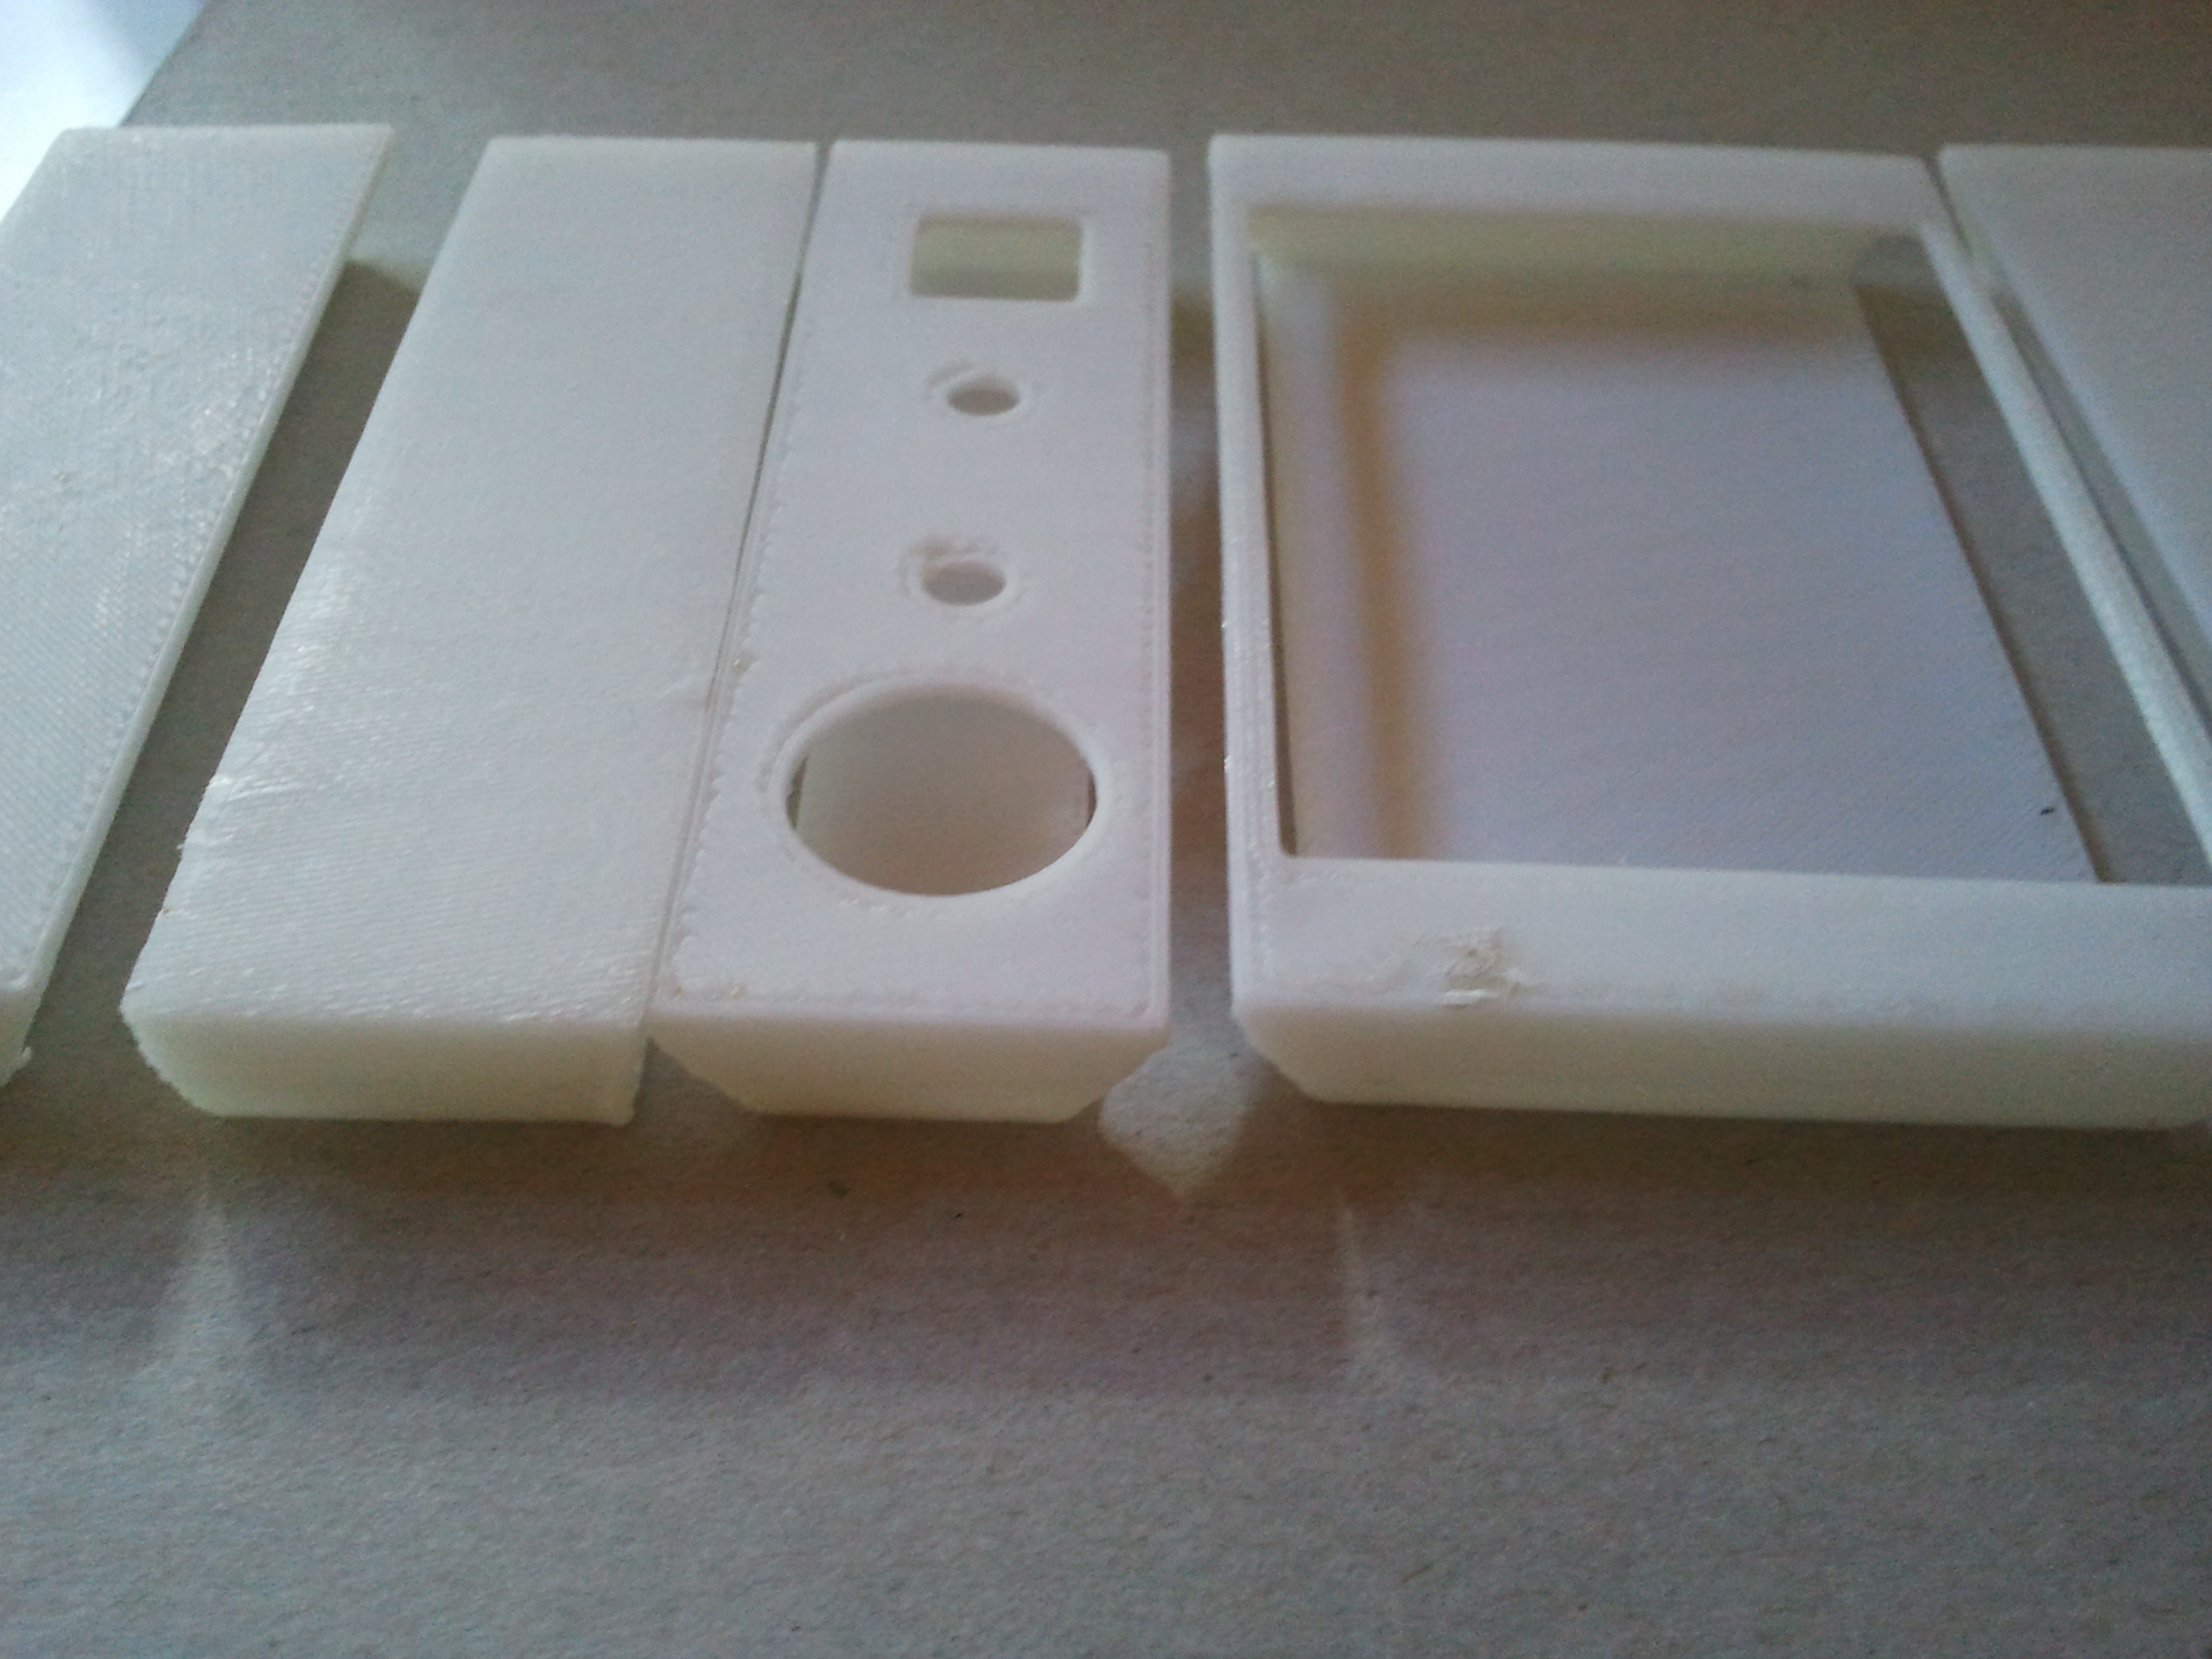
The VM has a scaffold which was 3D printed. This allows me to hide the components inside the strap and it means, unlike some similar devices, they don't all have to be at the top. It makes for a lower profile design. The 3D file I used is in github the file is 3DModel.stl. Here is what the result looked like back from the printer:
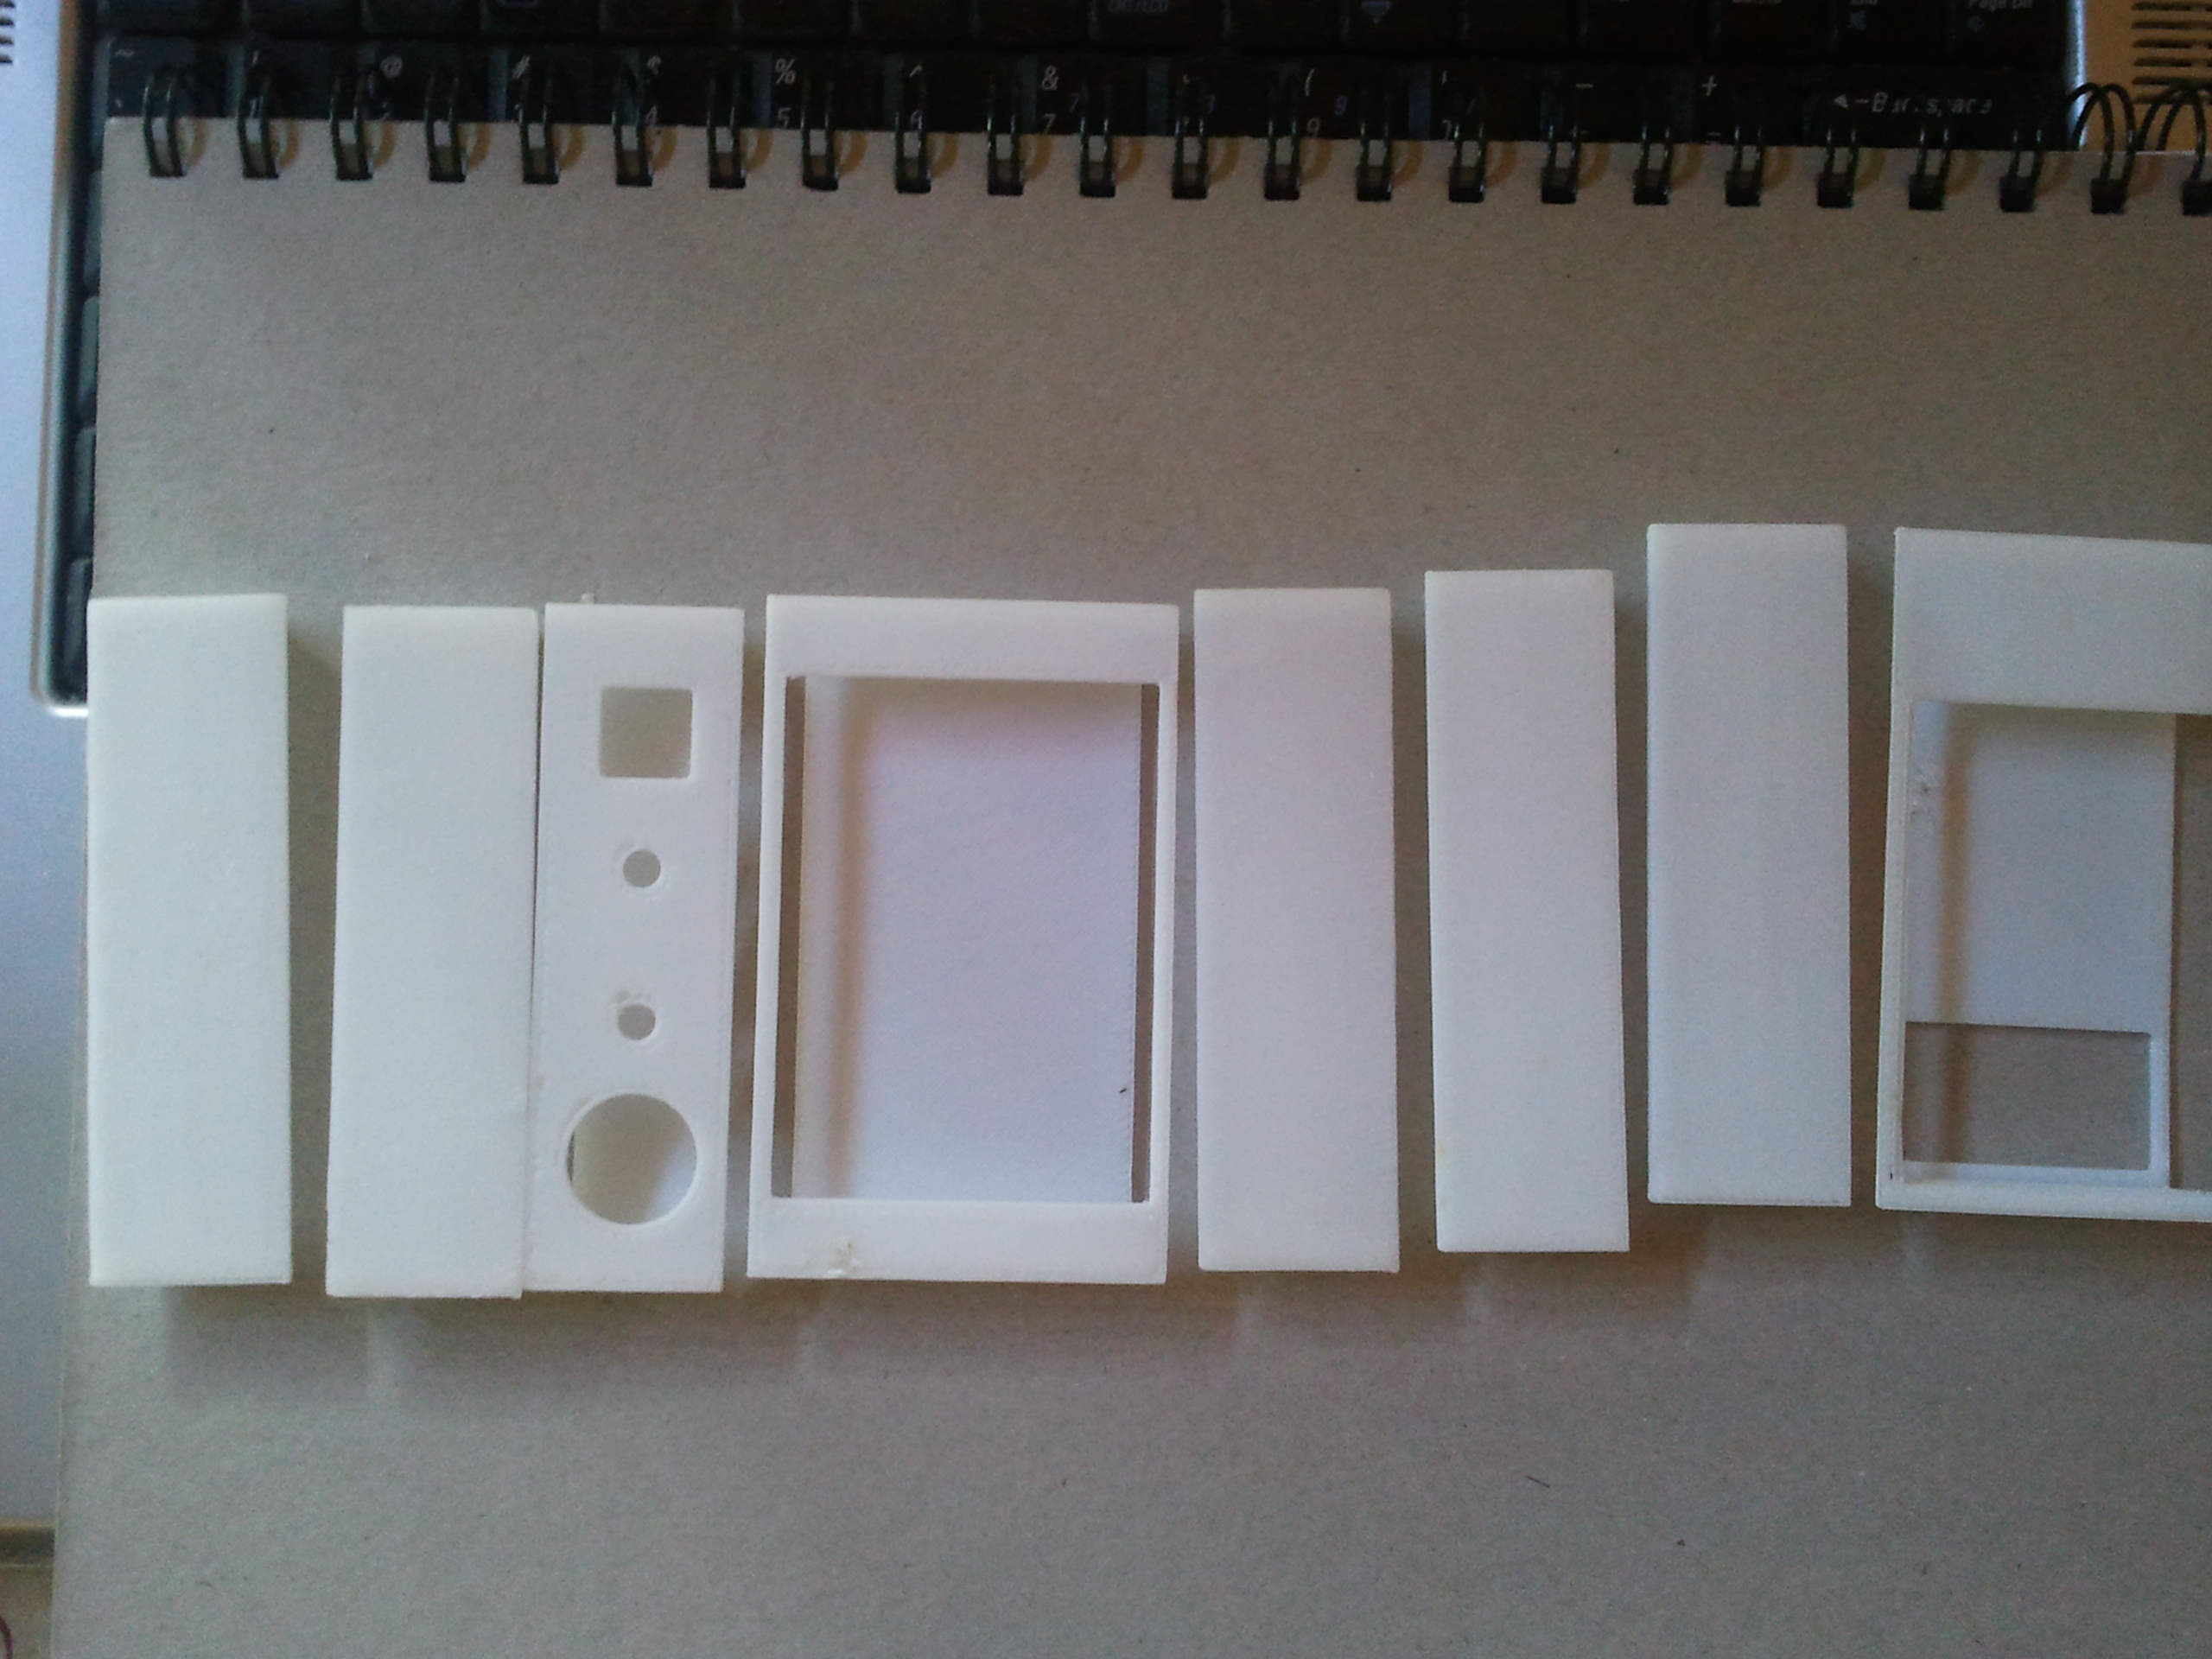
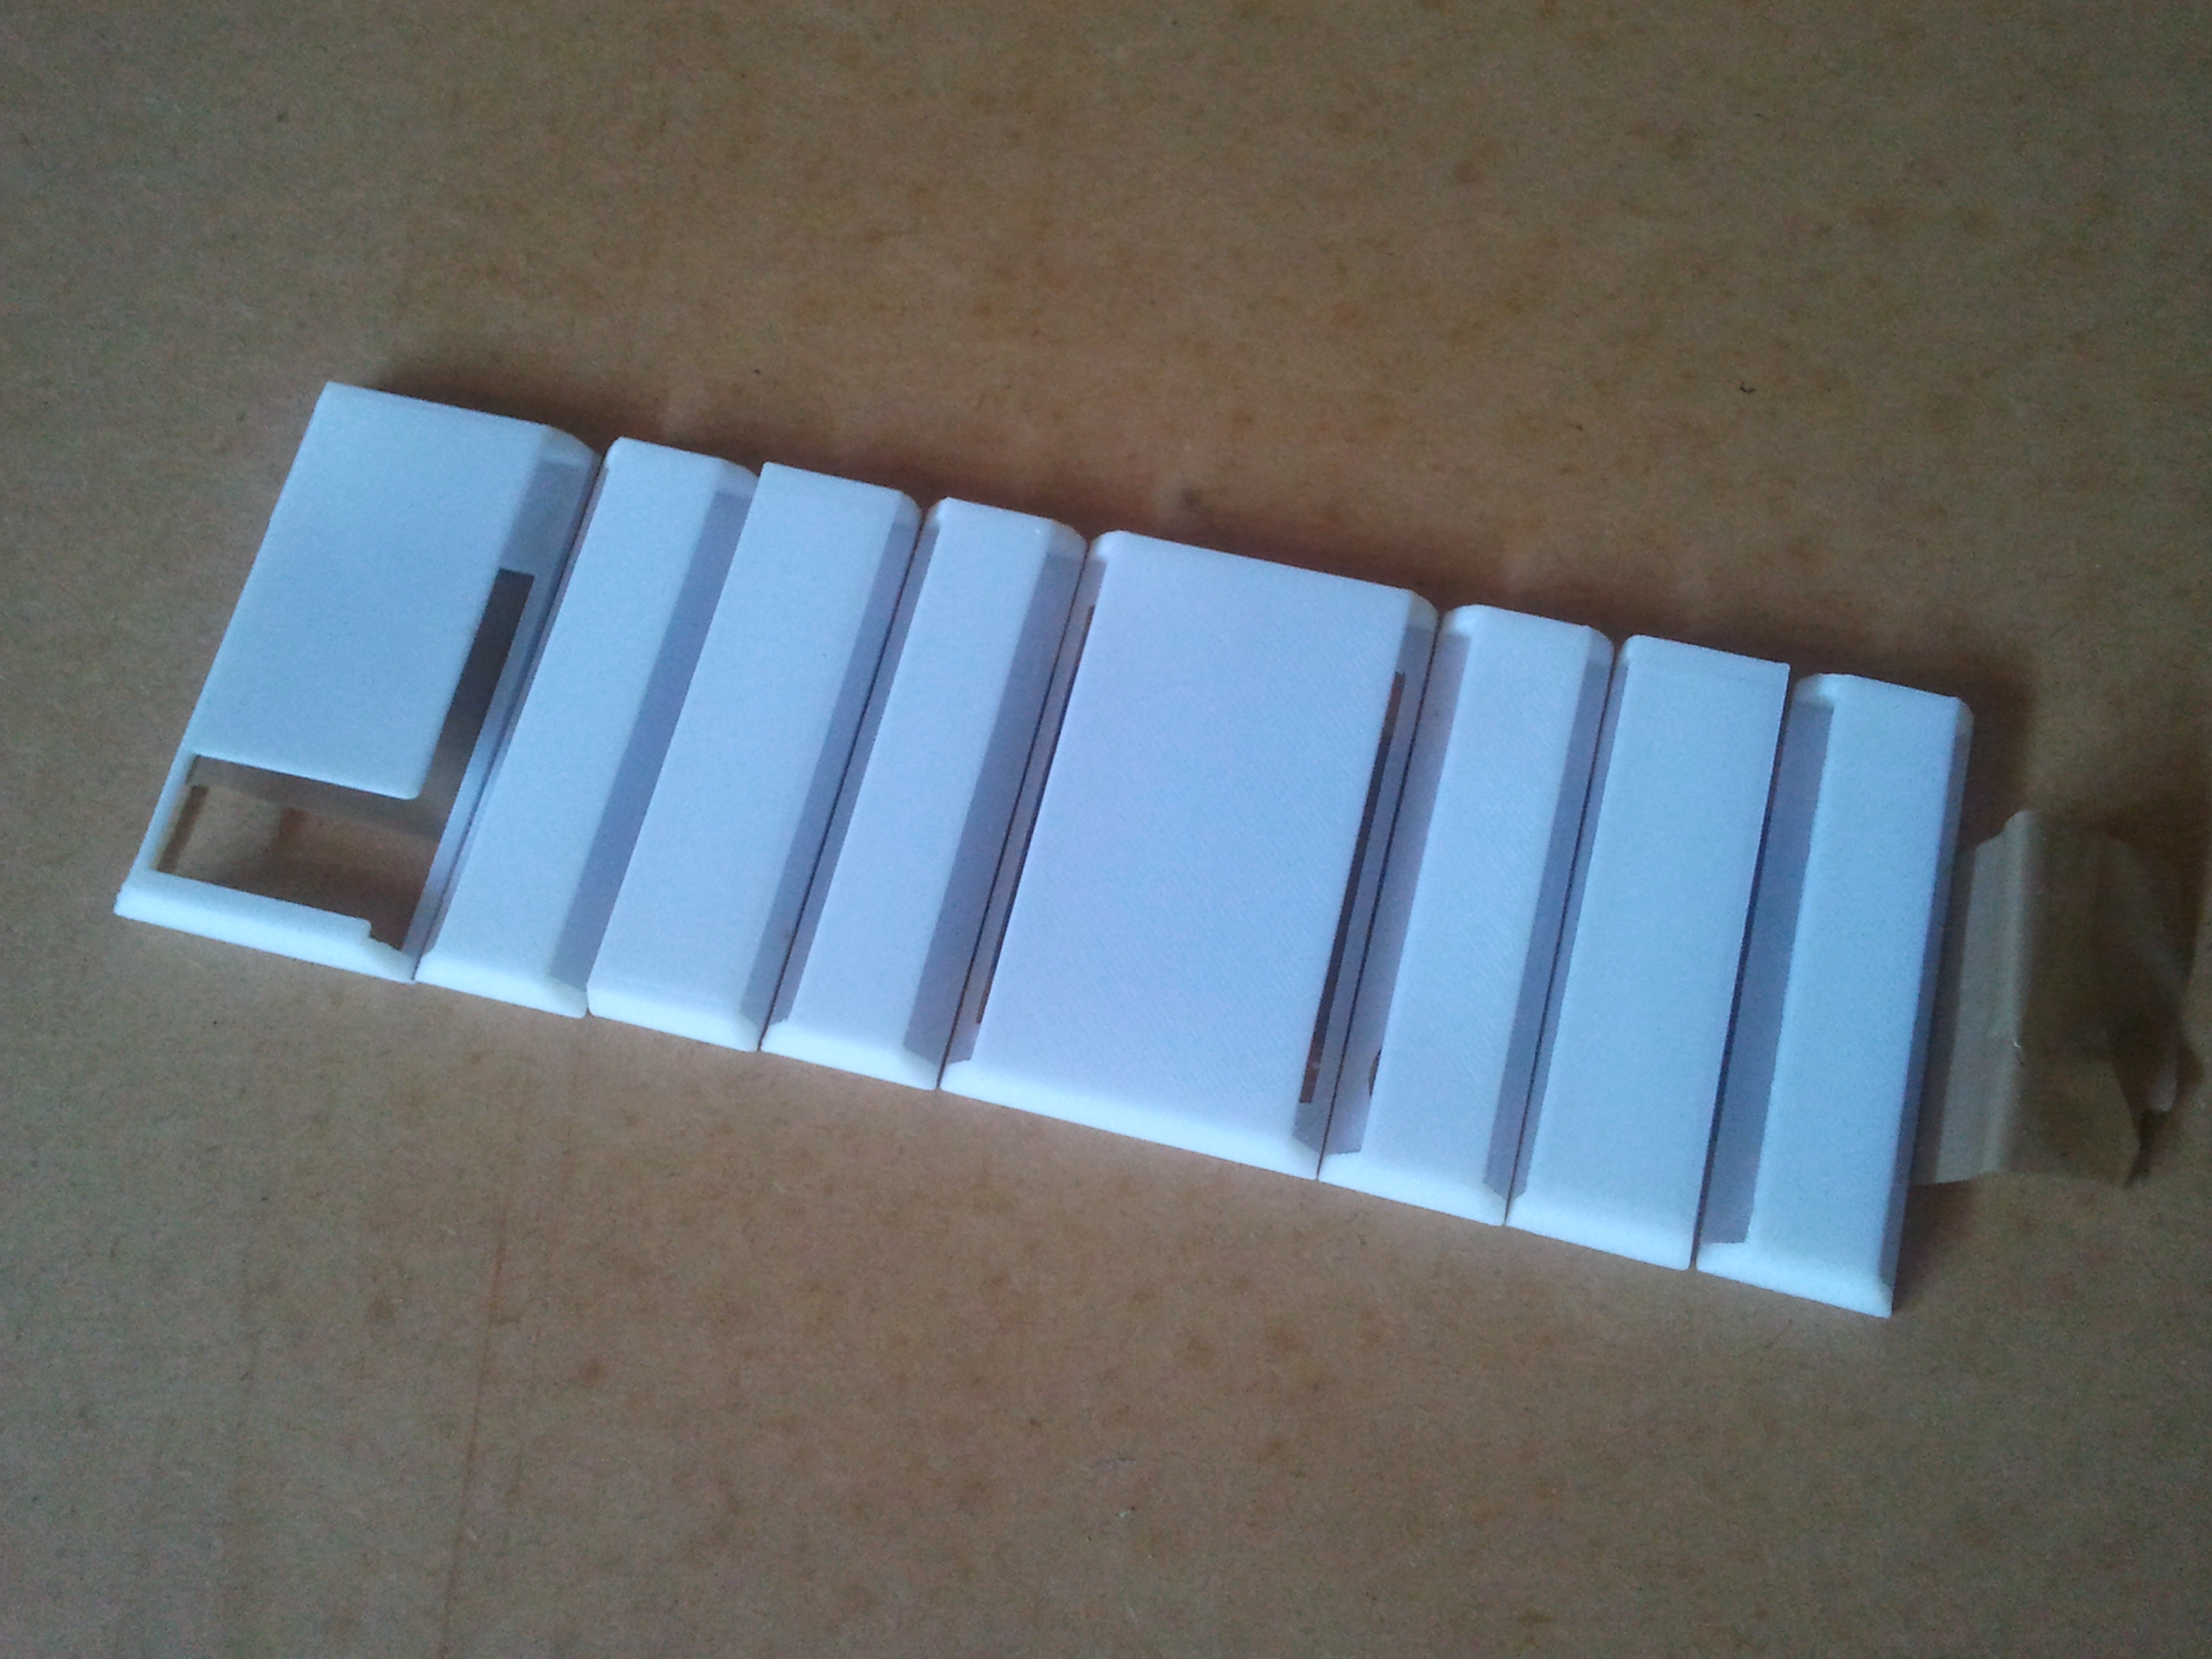
There are 8 sections and the first thing I did was tape them together like this:
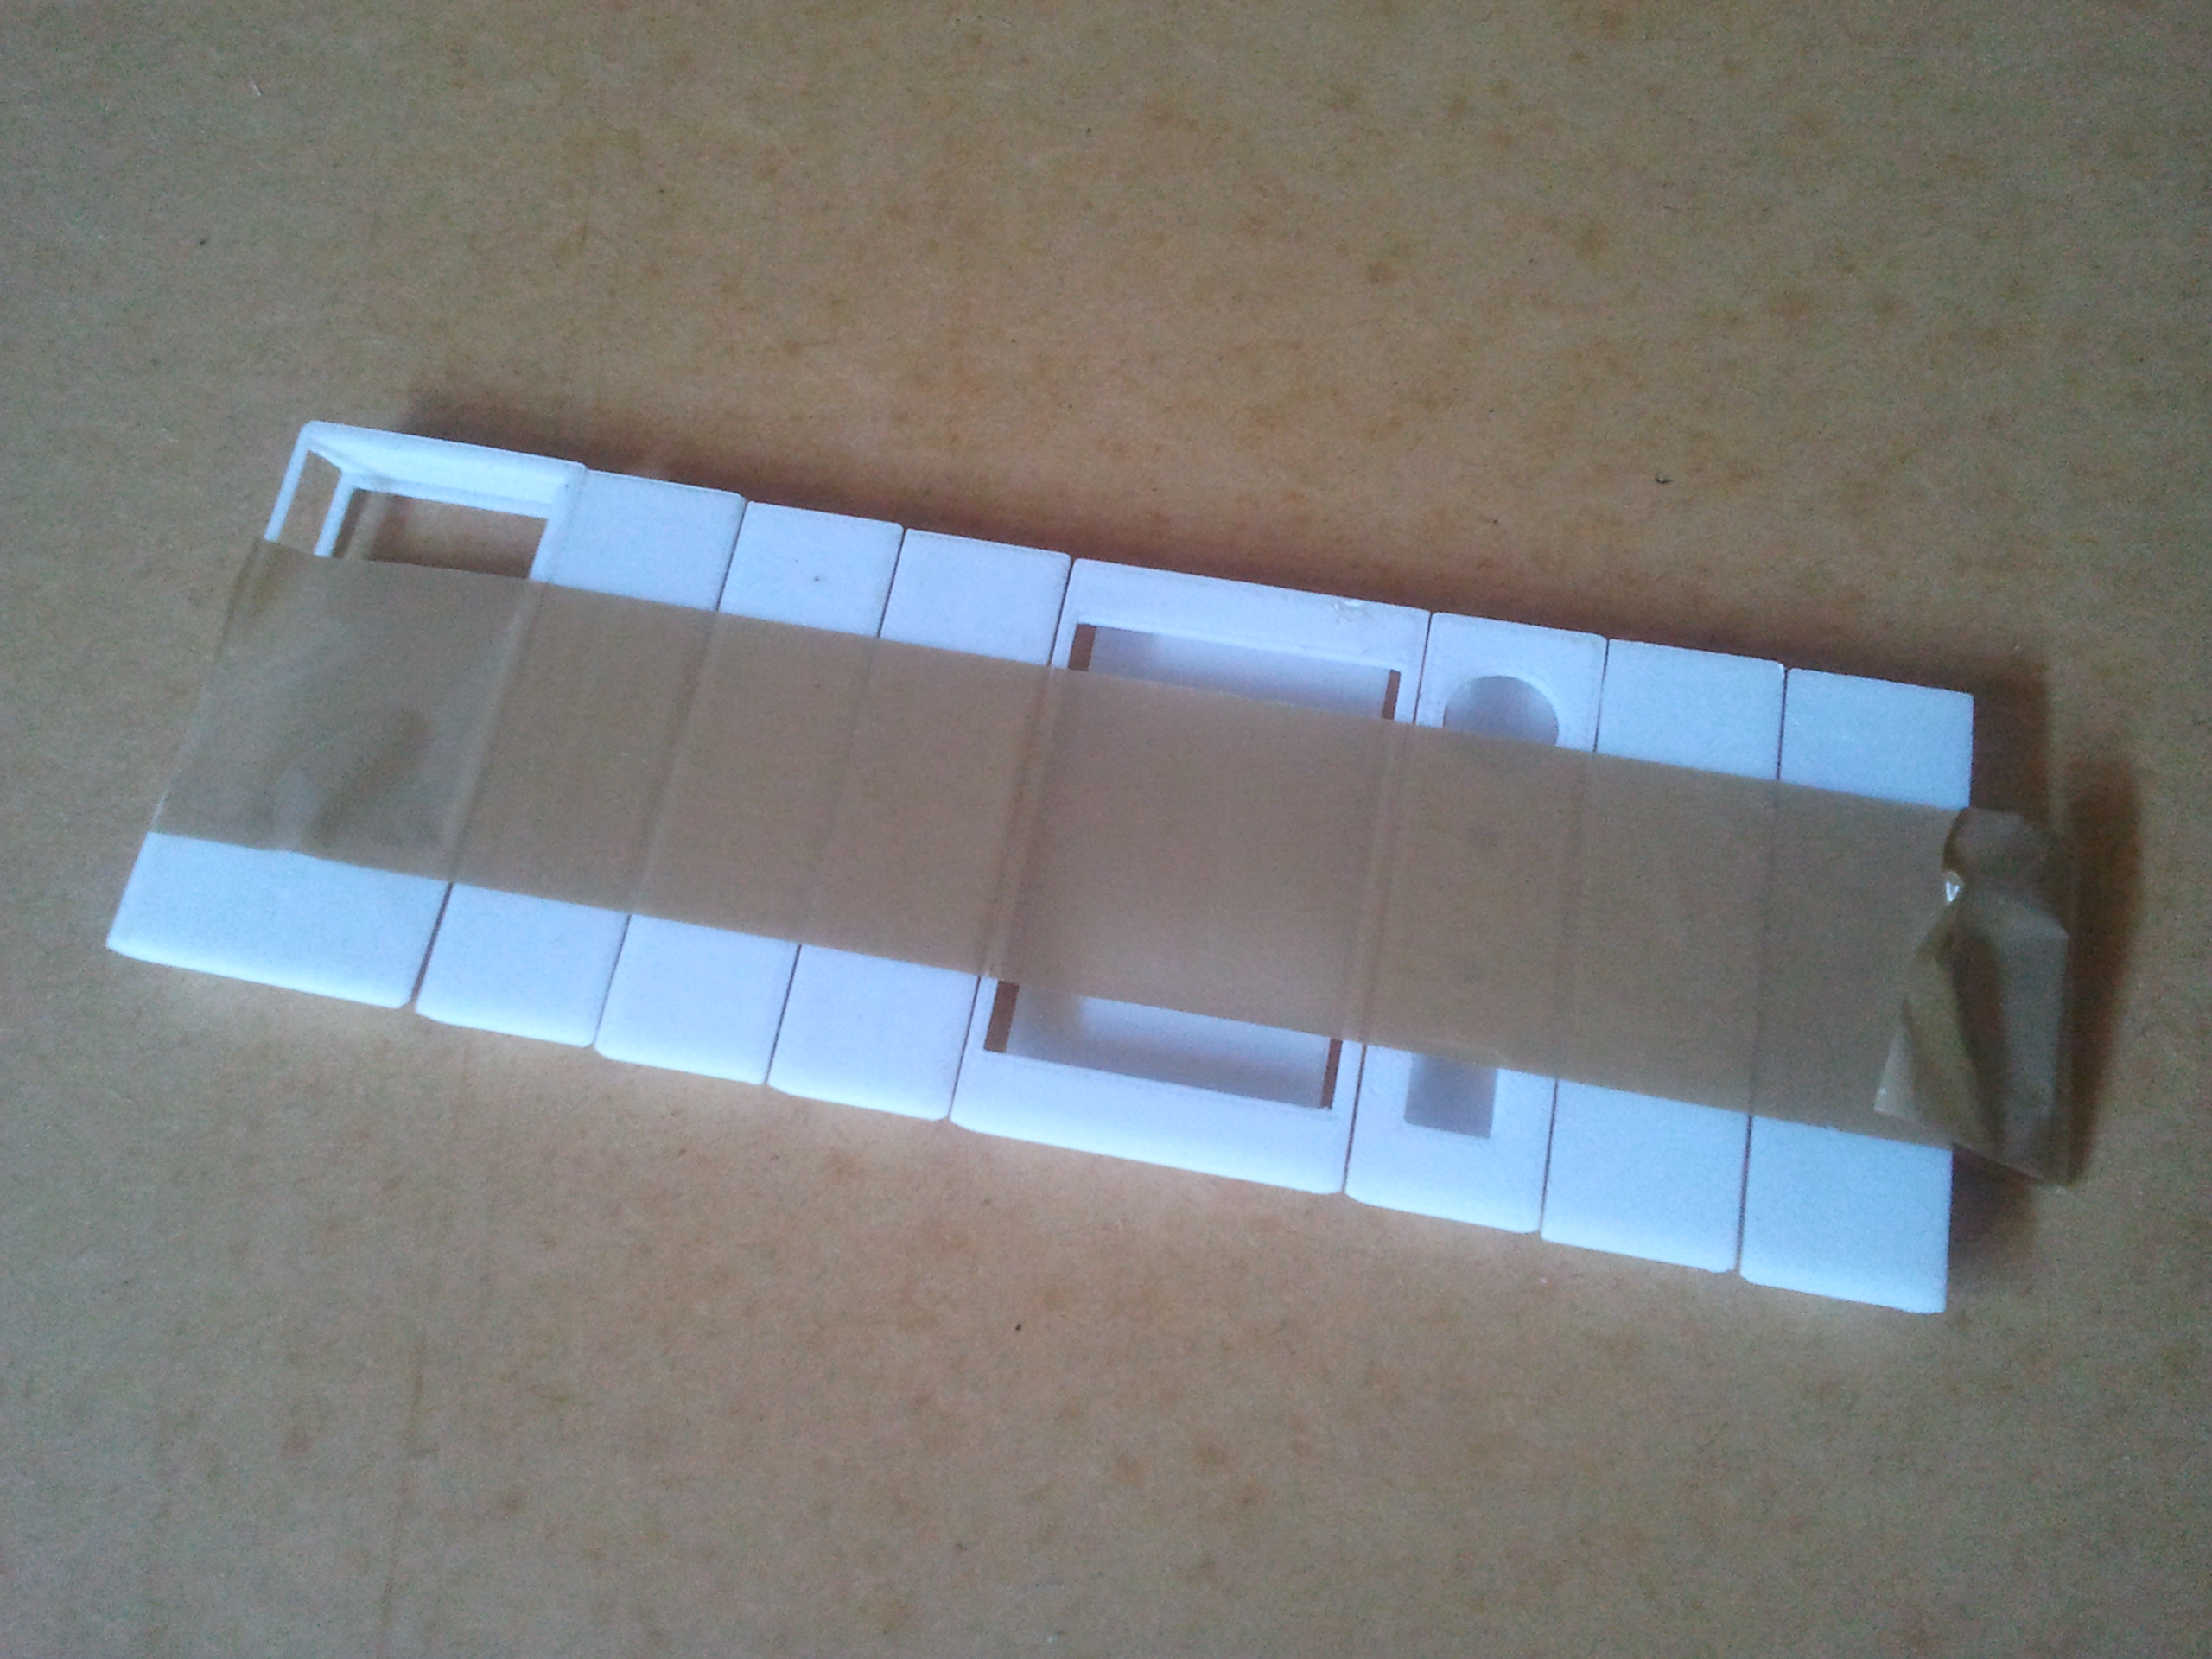
It starts to look more like the strap now. You can see the rectangular hole where the screen will go, and beside it is the panel with the LEDs, speaker and wake-up button. At the left hand end is the section that holds the main board. The next thing is to wrap it around my wrist to see if it fits.

At this point I found it was too big and I removed one of the narrow sections. Your wrist may be larger or smaller than mine so remember this option. Also I should say that I sent the 3D file off to a printer, didn't print it myself. The printer told me he had to tweak it a bit. Some of the flat surfaces on the inside were too thin for his printer and he made them a little thicker. Your printer may be able to handle the thin surfaces, or maybe not. If I were going around again I would make some of the narrower parts a bit wider. Some of them have snapped, but a bit of glue fixes that well enough.
From here you can add your own look. I chose to paint the whole thing black, and then cut leather sections for each 3D section and glue it on. It gives mine a steam punk feel. Because I could anchor the leather sections to the 3D sections I could bind them all together with thin nylon fishing line. The trick here is to just tie the nylon firmly to the end section's leather, then through holes in each section until the other end where you tie it there. Make sure it is tight, and use a needle to thread it through the leather. I used two lengths of nylon, one for each side of the strap. Because the nylon is inside the whole thing, and transparent anyway, it doesn't show.
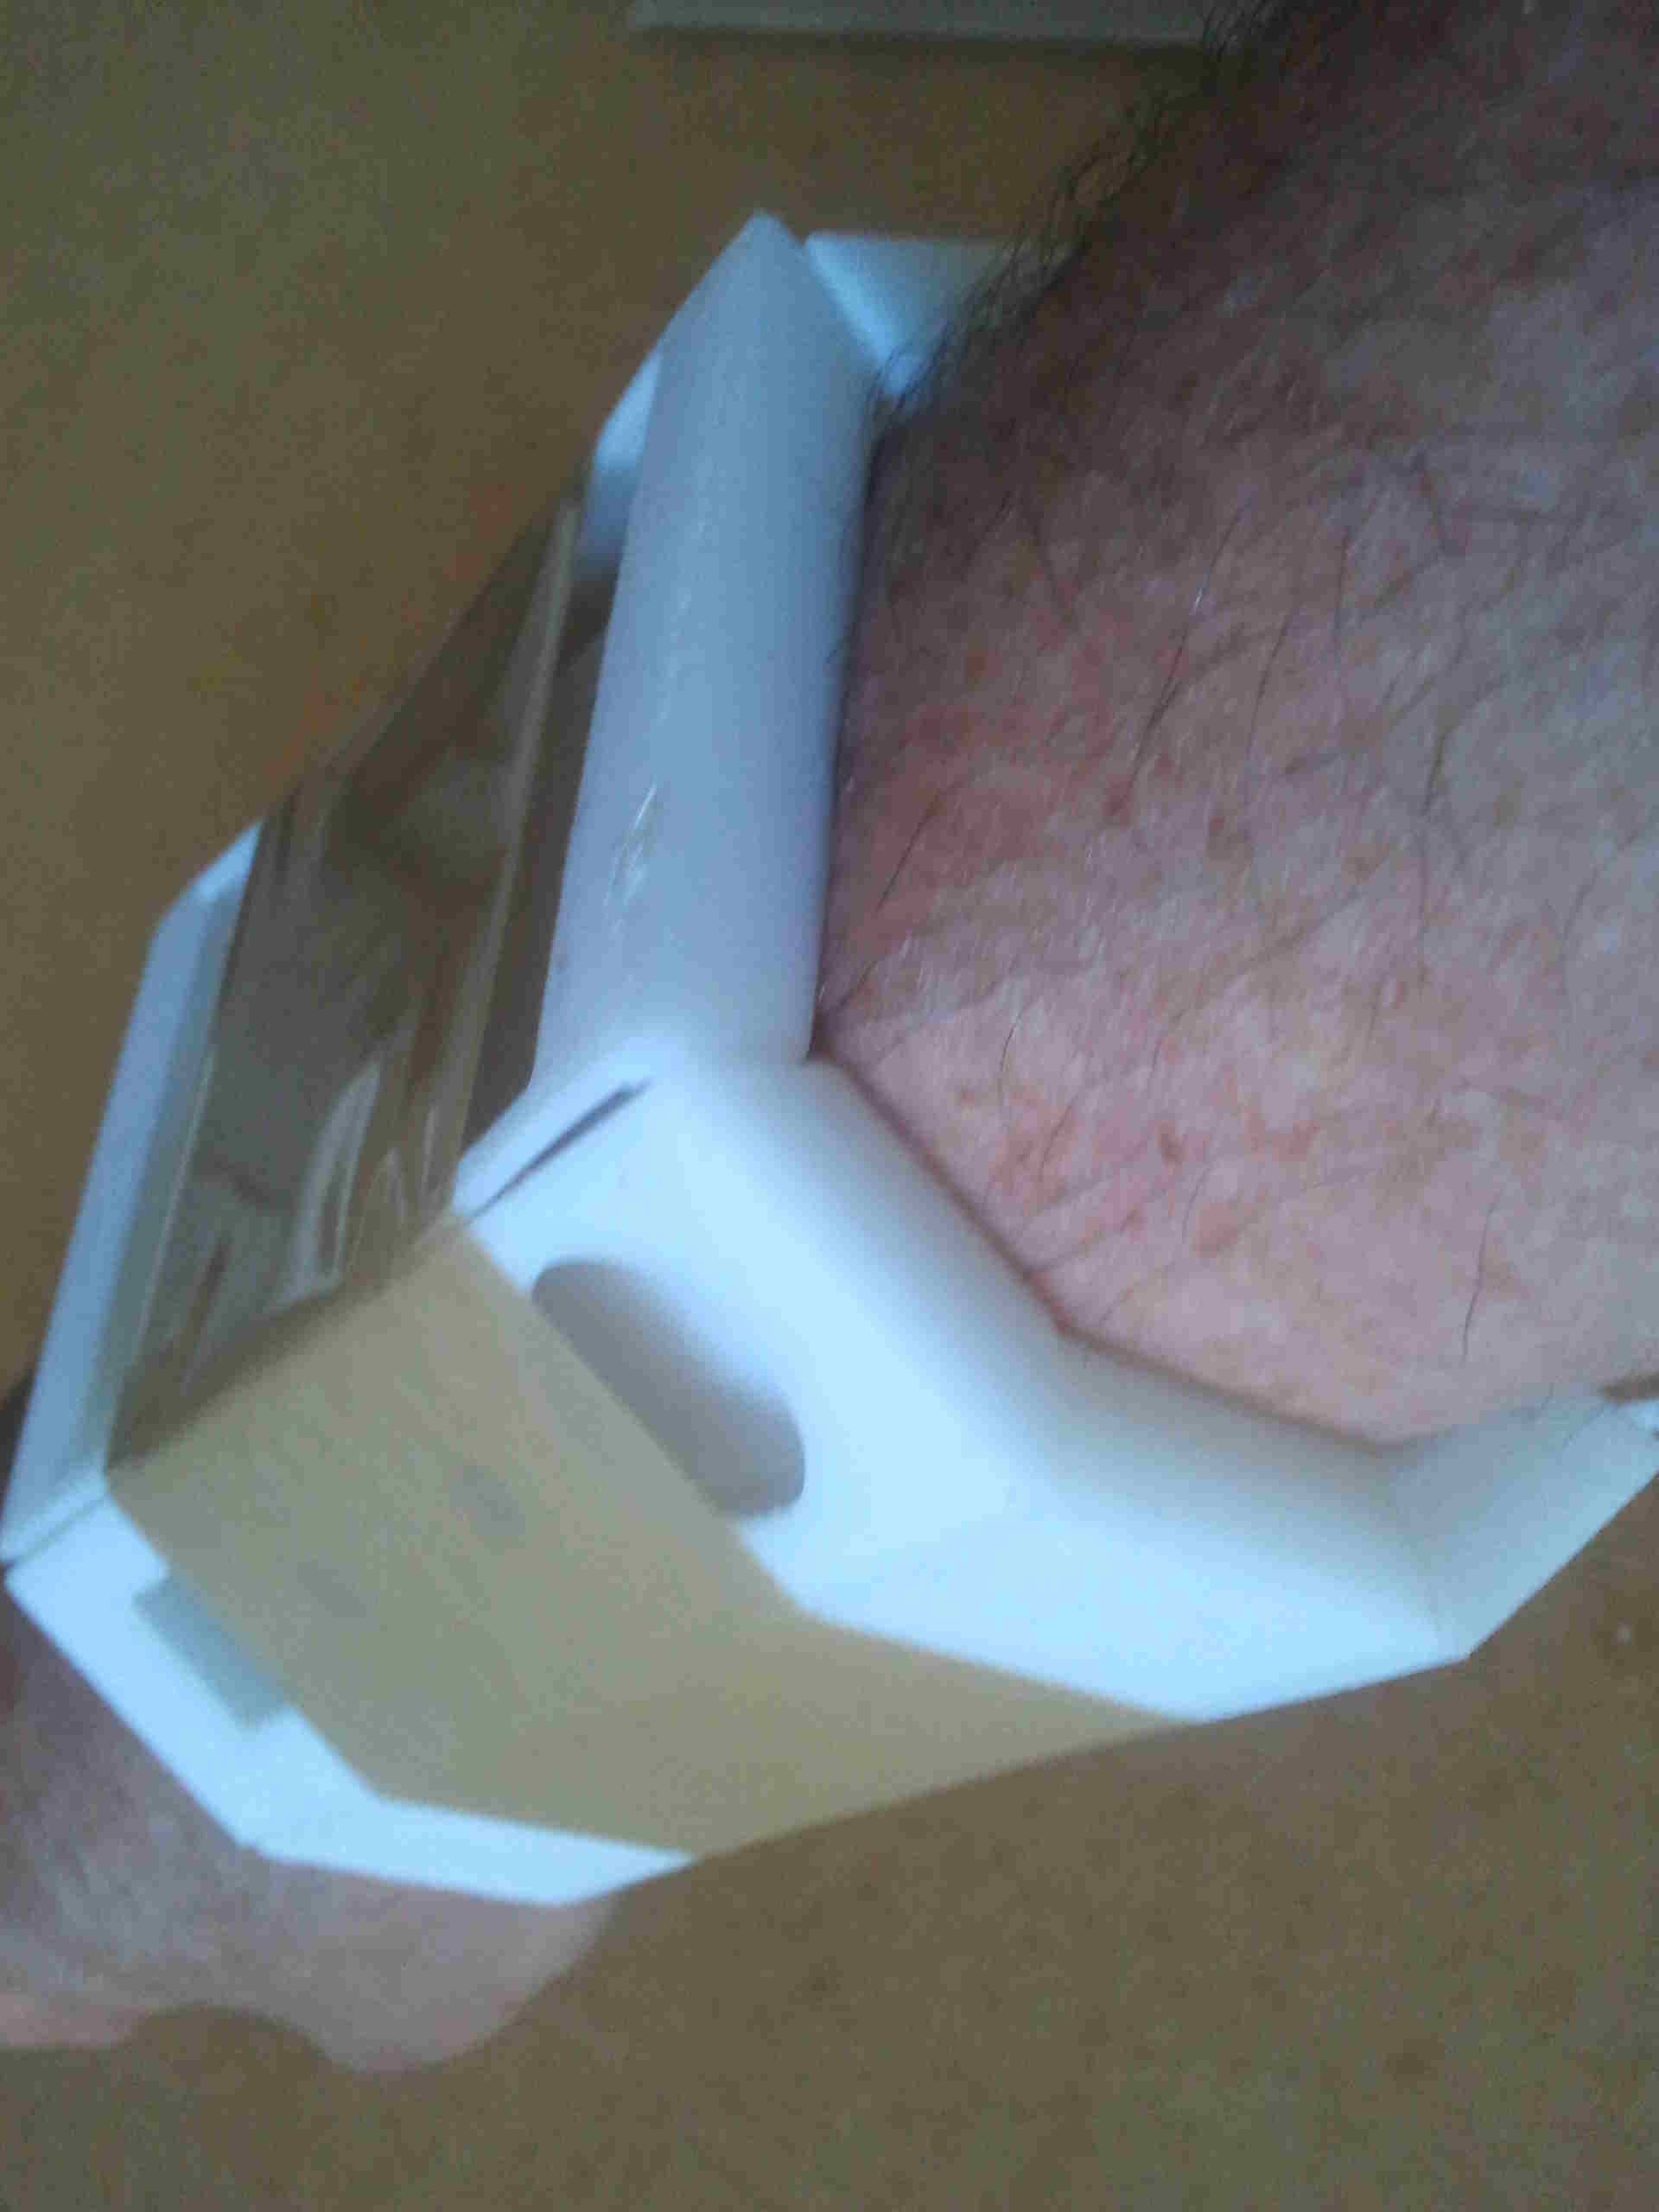
I did not use leather for the screen section, nor for the one next to it. The screen section is mostly... well, screen. It does have some plastic at the top and bottom and some narrow struts along each side of the screen. You should find the screen itself fits in that space snugly. I painted mine with copper paint and for the section beside it I found some flat plastic, cut it to size and cut out holes and painted it copper too. Then I glued that over the section so it looks like a copper plate. My original plan for this was to just paint the 3D section copper, but the space for the wake-up button was bigger than I needed and to get a smaller hole I needed to add another layer. It came out with a very 'used' coppery look which I like, as though it has been around the universe a few times.
This is what it looks like with the paint and leather added:

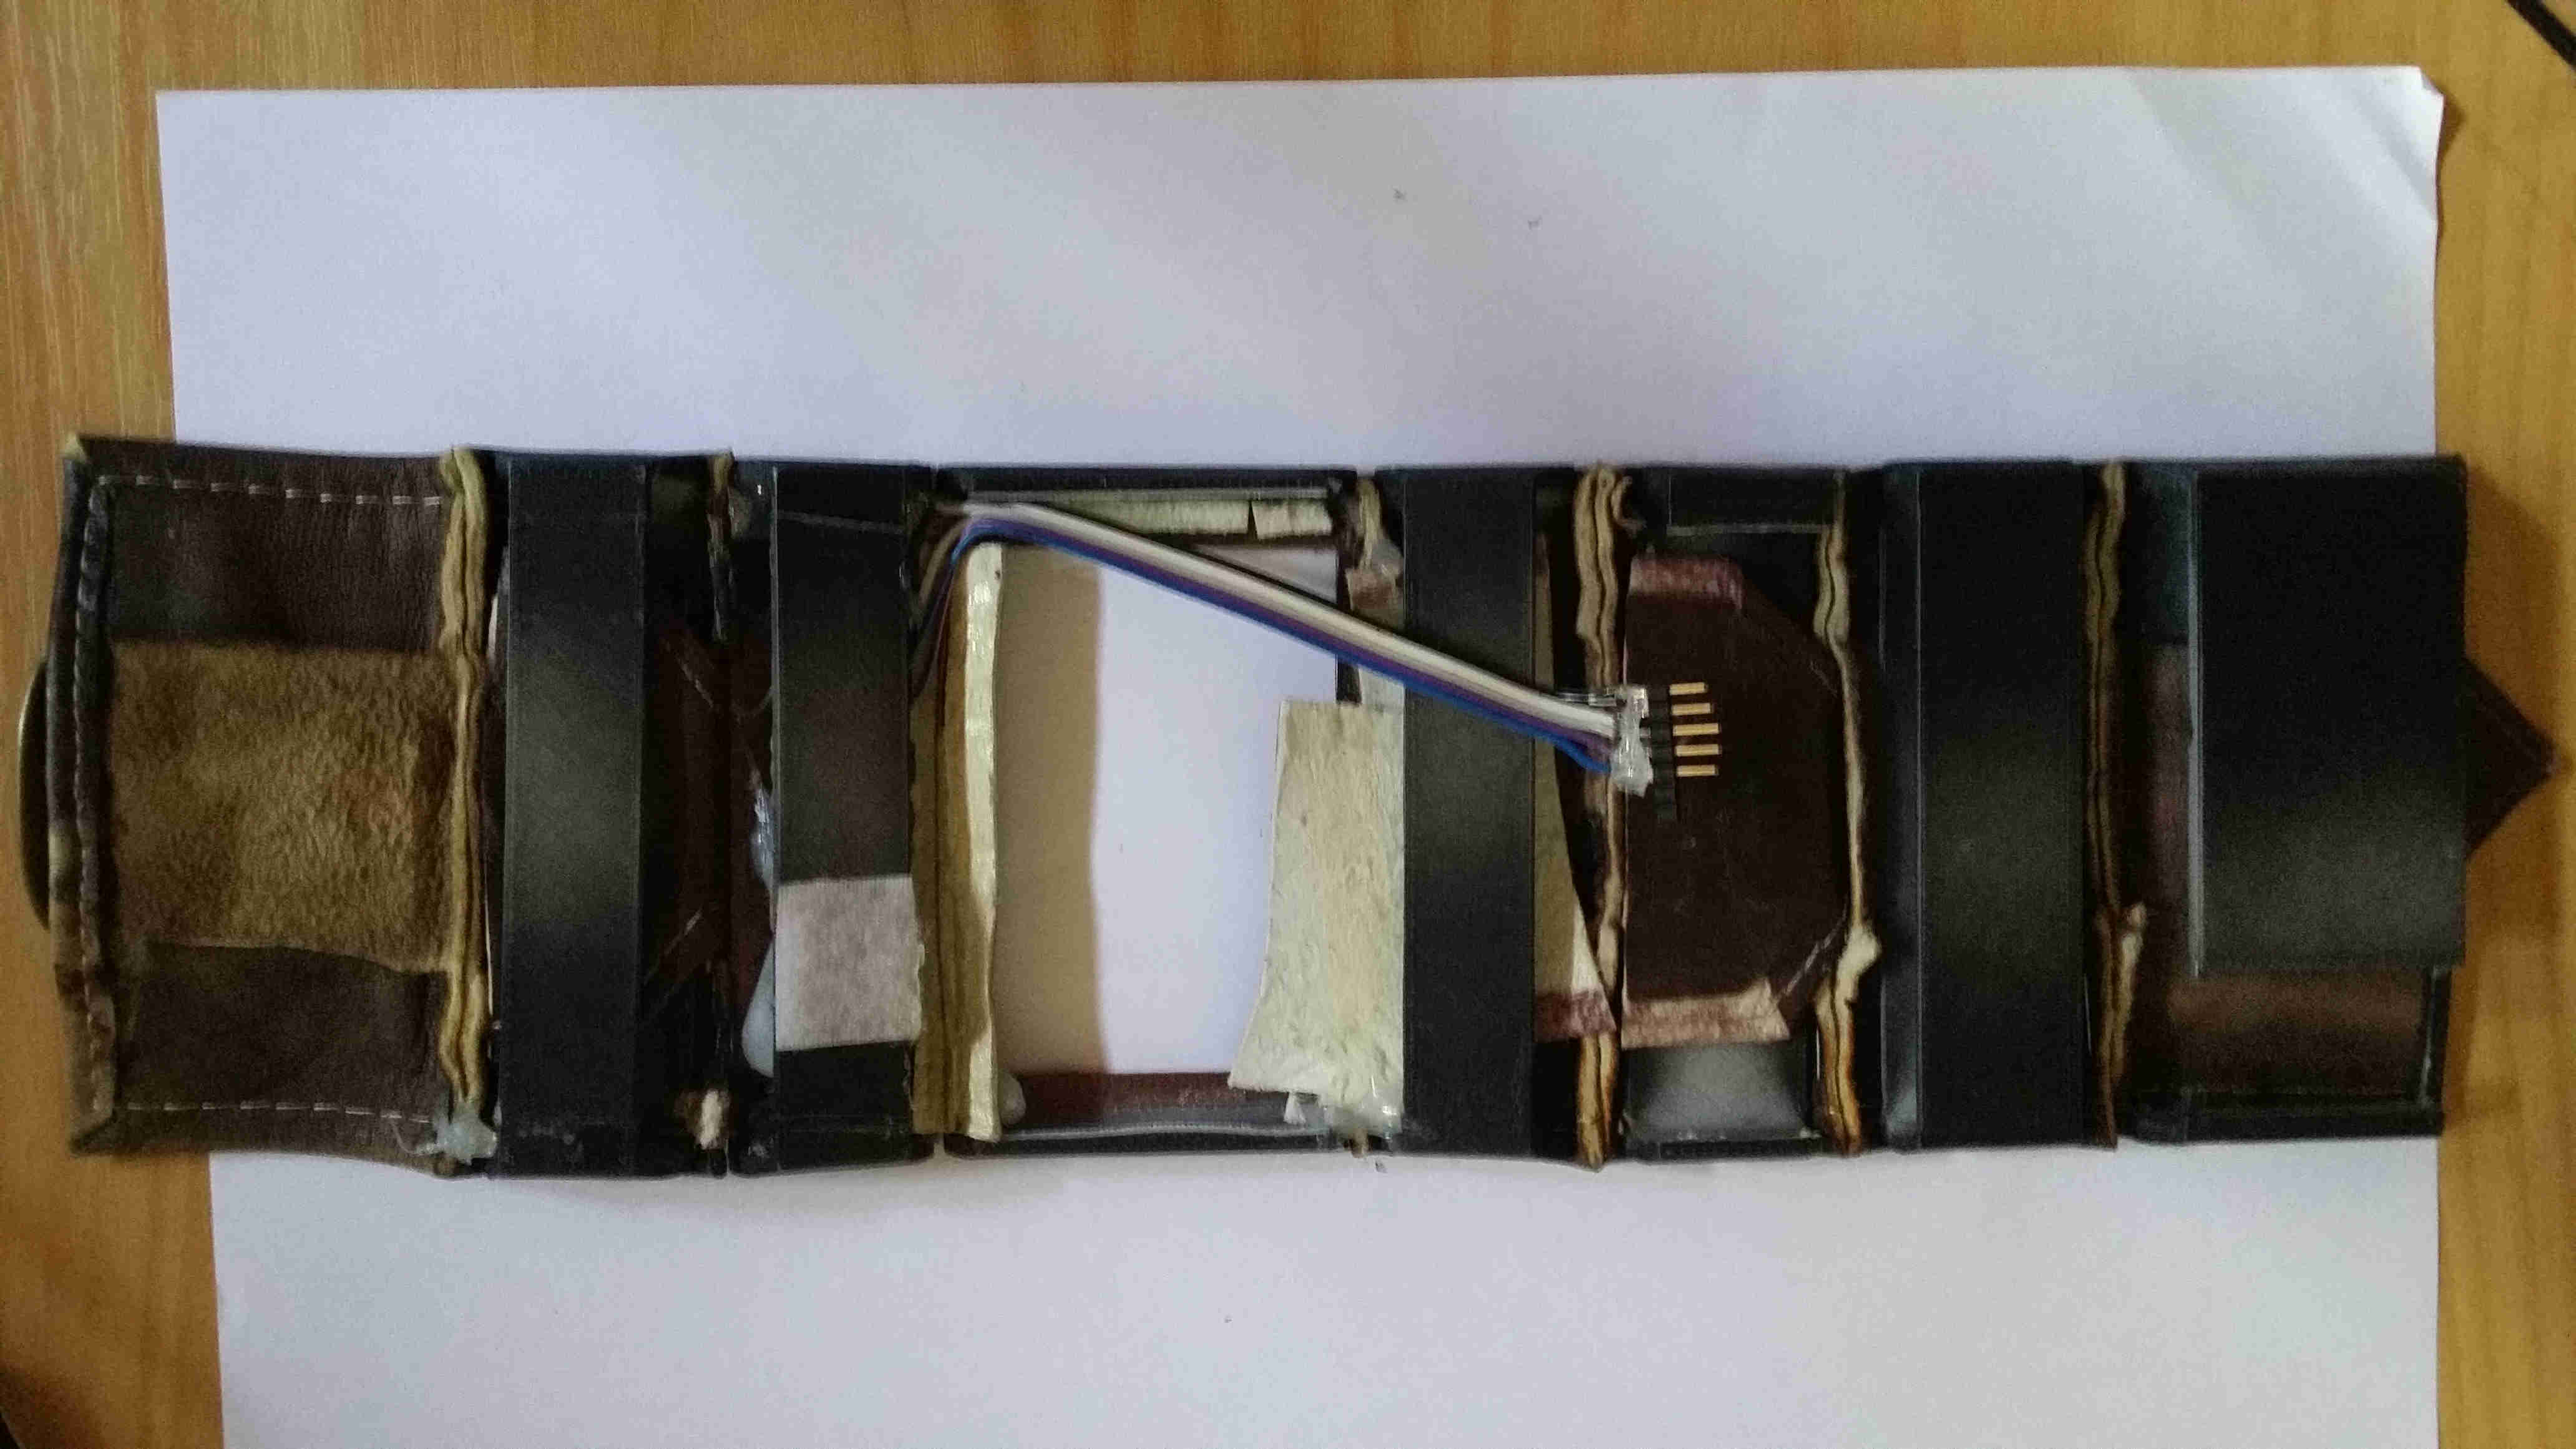
Underneath it looks like this, a bit hard to see with everything painted black. You can see the wies from the speaker, LEDs and button snaking out from the control panel and if you look closely you can see some of the hot glue I used to hold that stuff in place.
You'll notice that mine has decorative stitching on the leather. That's courtesy of my wife and her sewing machine. To get this right you need to cut the leather a little bigger than you want, fold the edge over and glue that edge in place, then sew it. Go slowly, use a strong needle, expect to make some mistakes and go around again.
The leather I used is sheep leather which comes bleached white. I dyed it brown, which is really easy. The most difficult part of all this was getting the buckle right which is tricky. The best advice I can give is to measure carefully and assume you won't get it right first time.